.
Back to Sacred Space
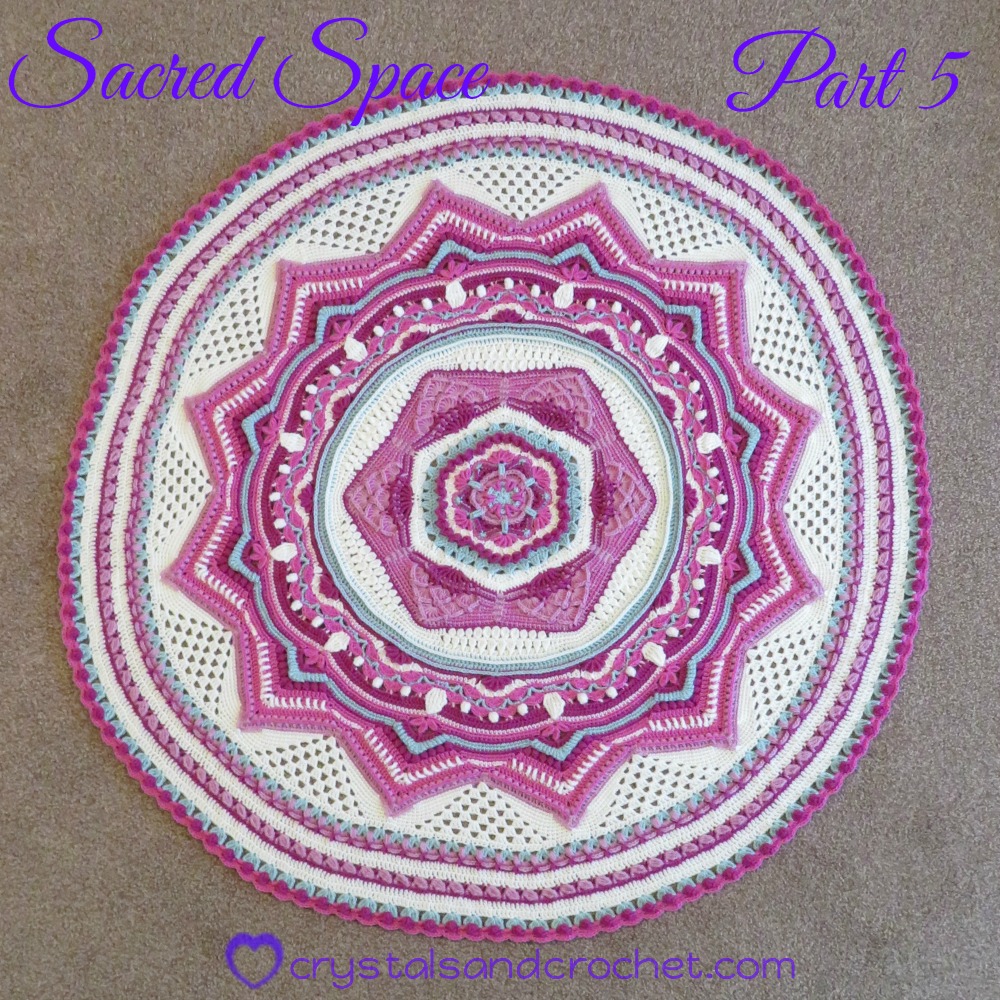
Sacred Space Part 5
£0.00
Welcome to Part 5 of the Sacred Space crochet along.
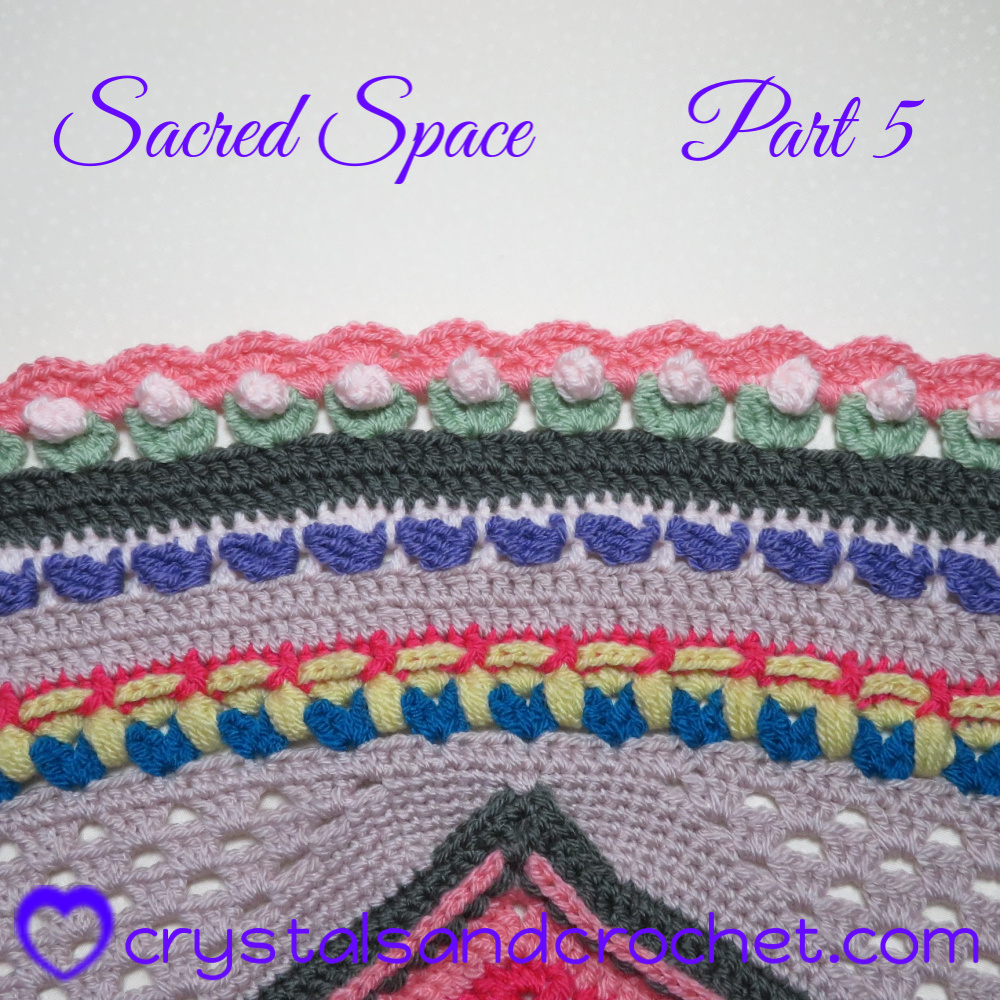
This week we continue to expand our circle bringing the beauty of flowers into our Sacred Space.
♥ Remember that beauty takes time to create, and as you work the energy that you hold transfers into your work, so make it the energy of love.
♥ Love every stitch and enjoy every stitch, because there are lots of them the same this week, and remember it is not a race, you are creating a piece of artwork to be loved and cherished for many years to come.
♥ Again you all blow me away with the gorgeous colours and the amazing help and support you are giving each other in the group.
I love you all.♥
Tricky bits…
♥ This week you are going to need your stitch markers again and remember to count, count, count.
♥ Watch out for Round 71, take your time and watch the video to help you.
♥ Remember those chain 1 spaces in the Cluster shells for Round 74
♥ Please use the video tutorial to help you through any stitches that are new to you.
Some hints for taking gorgeous photos.
♥ As your piece gets larger, taking a good photo can become tricky so here are a few handy hints for you.
♥ Make sure all your ends are worked away.
♥ Give your work a good shake and smooth out with your hands.
♥ For a flat photo you need to be as high above your work as you can get, and hold your camera centrally above your work.
But please be careful climbing ladders and trees!
♥ If you are draping your work over something like a chair or fence, or tree etc. Make sure it is still looking smooth.
♥ Take the photo in daylight but not in direct sunlight, to show the colours at their truest.
♥ All social media sites show photos best as a square.
Many phones have the option to make the photo square, or at least to crop it to square.
If, like me, you use a normal camera then crop on your pc or laptop once you have uploaded.
♥ Set the scene, have a good look at what else will be in the frame, other than your work, and also think about the background.
♥ Add a watermark or text to your photos with your name so that others can not pass it off as their work.
Yes unfortunately this does happen especially with some of the click bait websites and free crochet pattern sites.
My full photos this week are taken on my living room carpet..so I vacuum it first to make sure it is clean, smooth my work out, get out my step ladder, climb up, and take the photo.
BUT… I often have to take a few as I normally have someone who photo bombs anything I am trying to get good shots of. Also there are two walls of my living room with windows, which means I have to pick the perfect time of day to not have a shaft of bright sunlight across my work.
Weekly Reminder
You can find all the information to join in with this crochet along in the Intro Post.
Colours per round for the yarn packs are in part 1.
♥ Read carefully, there are a few tricky bits that can trip you up.
♥ Special Stitches, these are always explained in each part of the cal, but if you are new to any stitch then watching the video will help. USE STITCH MARKERS to help you.
Also remember that the Bead stitch is made up of two stitches and has two sets of top loops.
♥ Check your stitch count after every repeat, it is essential to the shape of this design, and will save having to rip/frog your work.
♥ Make sure you download the correct terminology for you. There are both US and UK pdf’s, in both photo tutorial or written only patterns.
Sacred Balance colour pack
Sacred Love colour pack
♥ Downloads and Links
Once you have downloaded the pdf you will be working from, please read through carefully.
You will find all the special stitches used at the beginning of the document.
If you are following the video tutorials, please always also read the pattern as there is always the chance, I do the correct thing but say the wrong thing!

Sacred Space part 5 is available as
♥ US terms Photo Tutorial -US terms written pattern – Video tutorial US terms.
♥ UK terms Photo Tutorial – UK terms written pattern
And also in the following languages
♥ Afrikaans ♥ Arabic – عربى ♥ Czech – Čeština ♥ Danish – Dansk ♥ Dutch – Nederlands ♥ Finnish – Suomi ♥ French – Francais ♥ German – Deutsche ♥ Hebrew – עברית ♥ Hungarian – Magyar ♥ Indonesian ♥ Italian – Italiano ♥ Russian – русский ♥ Spanish – Español ♥ Swedish -Svenska ♥ Urdu – اردو
Please select your option, add to your basket and you will receive your download Free.
Enormous thanks to the amazing ladies who translated this cal for so many people from around the world to join us.
♥ US terms Video Tutorial
Part 5 Rounds 67 to 77
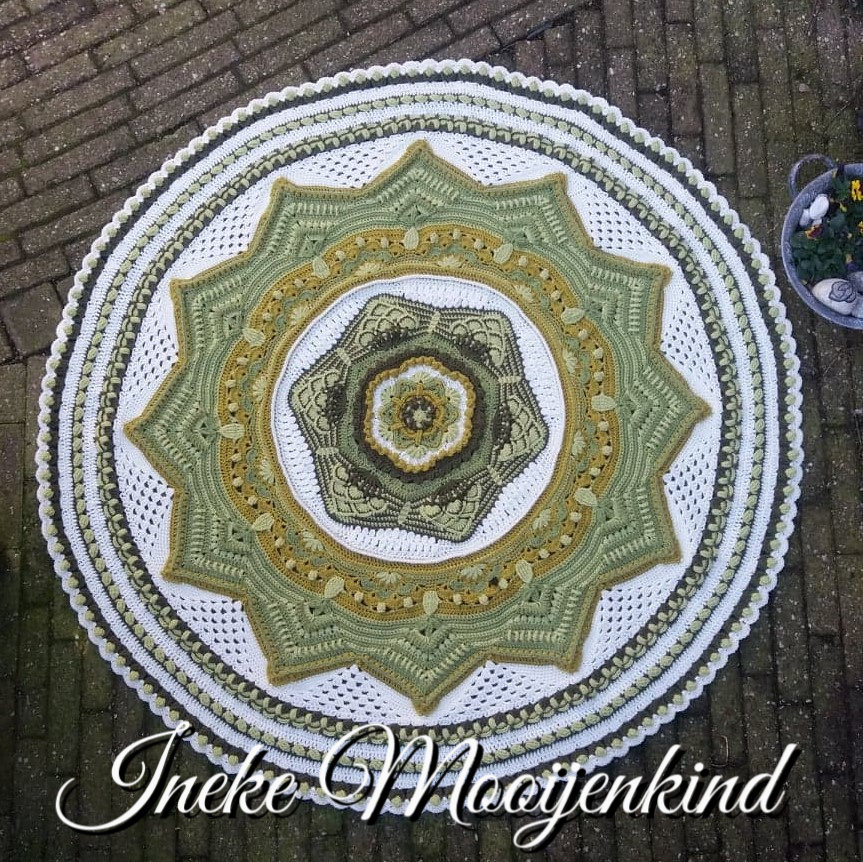
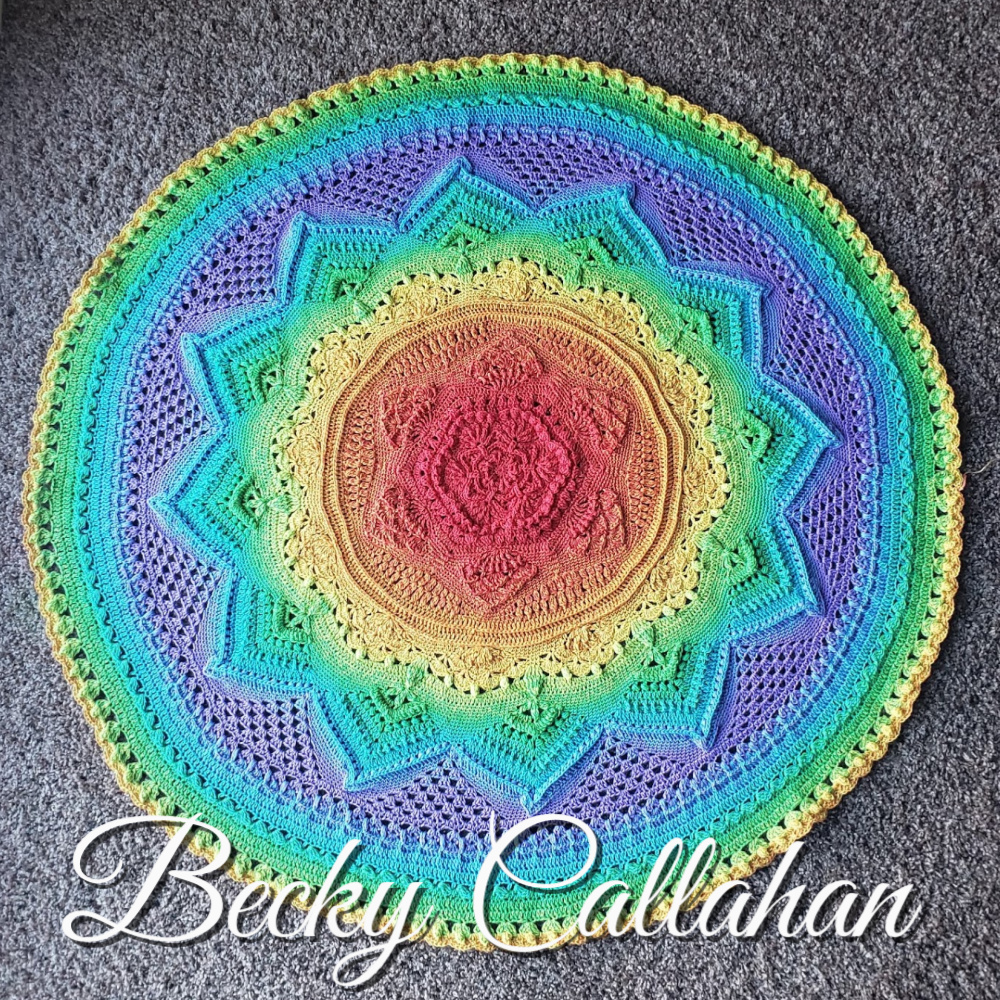
Here are all the amazing photos of part 5 made by my wonderful testing team.

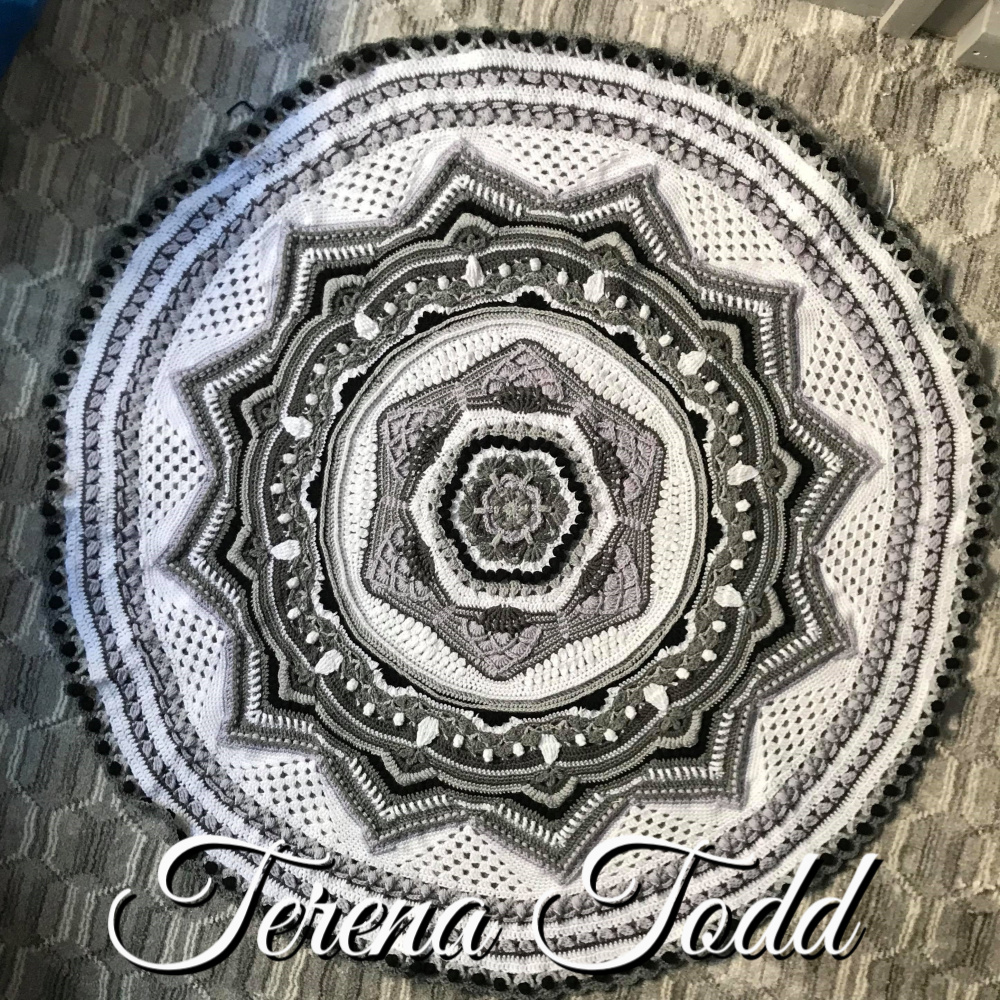
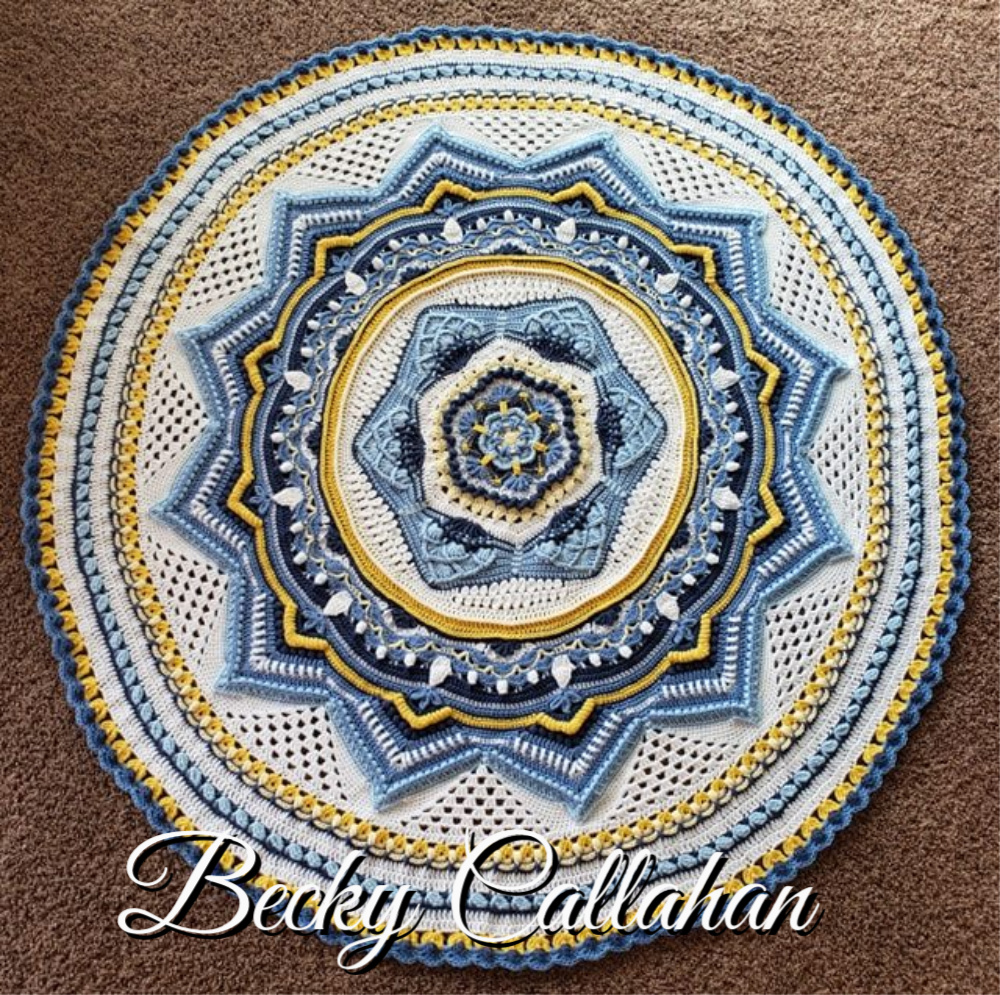
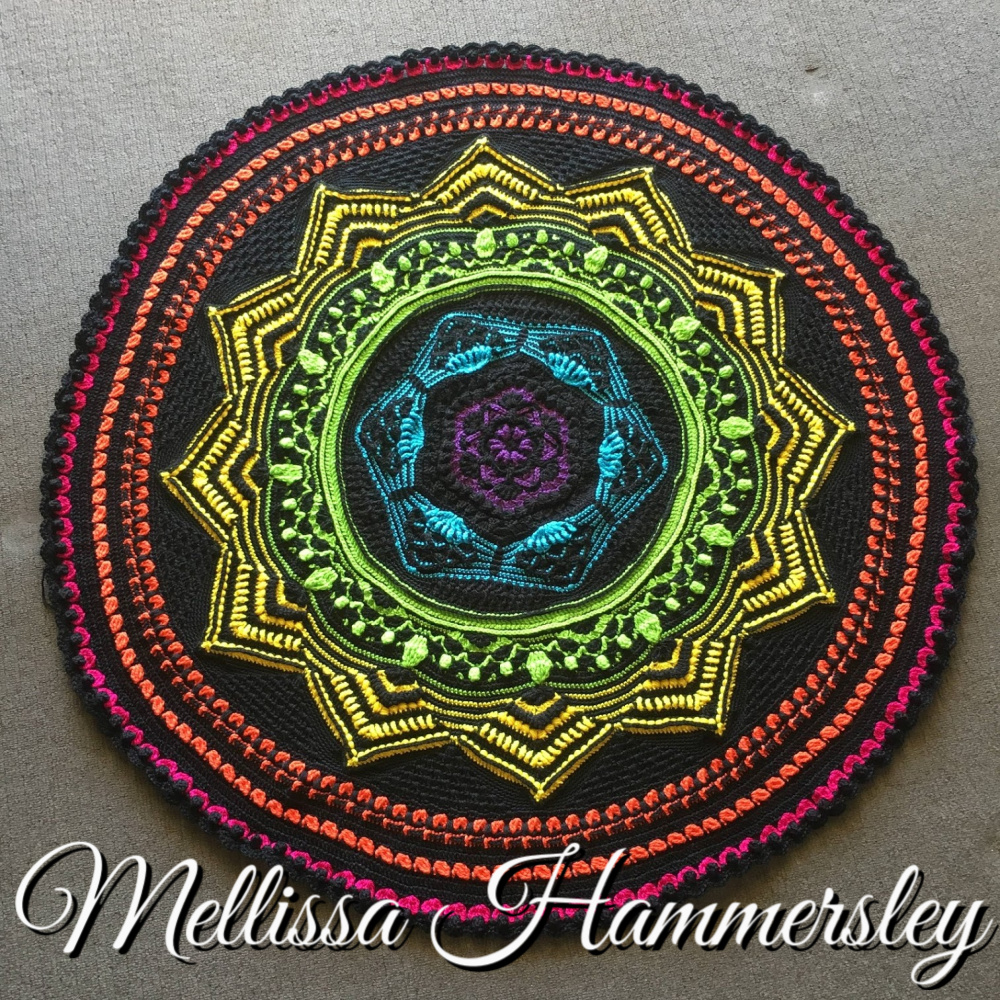
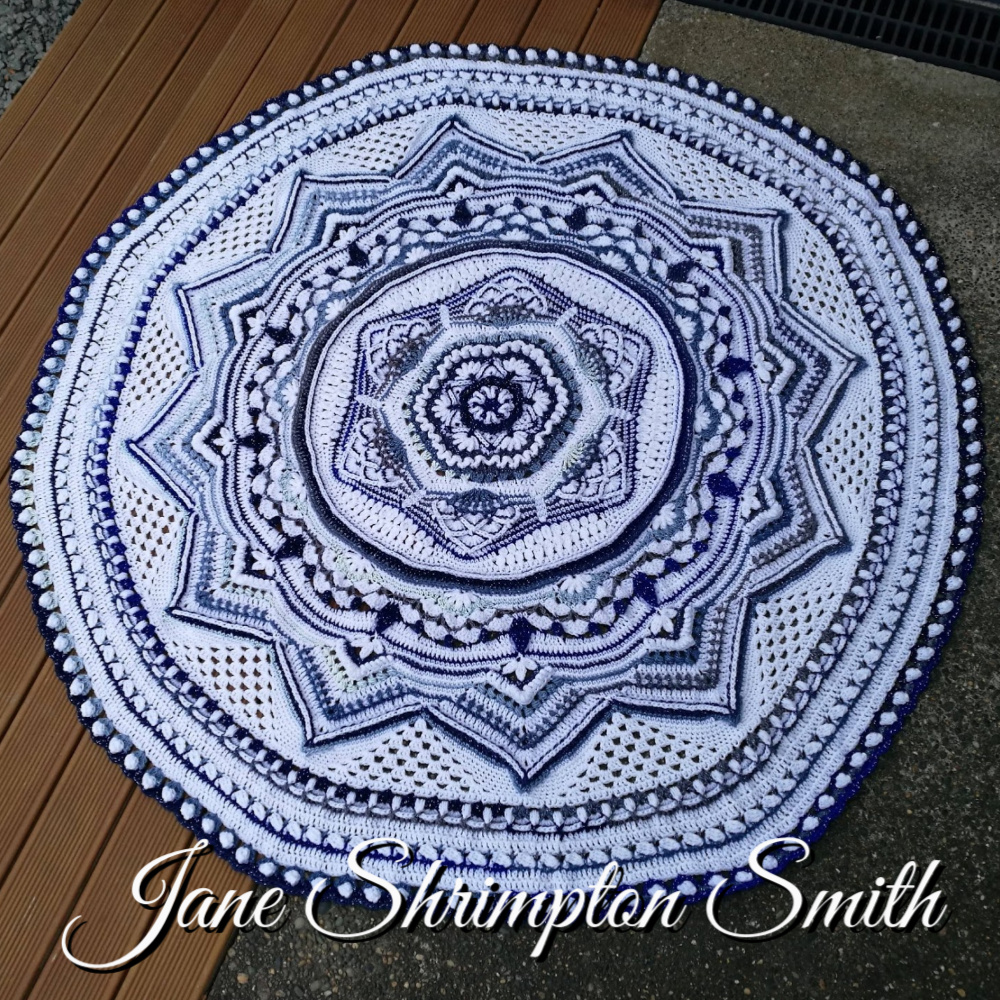
Have fun with part 5 and I will see you all next week.
♥ Please remember all of my patterns are covered by copyright law and may not be copied or shared in any way. You may share a link to my website or Ravelry store with anyone, you may print the PDF for your own use, but please do not alter, change or share in any way.
♥ Please love and respect me, as I love and respect you. ♥
♥ The best way to be in the know with all I am up to, is to follow crystalsandcrochet on Facebook.
♥ If you need help and advice, the quickest way to find support is to join Helen’s Hookaholics Facebook group. There you will find a very supportive group of likeminded people. It’s also a great place to share your crystalsandcrochet makes, and see what others are making, and see what I am up to.
♥ If you are not a fan of Facebook you can always email me with any questions you may have by using the contact form here.
♥ Please feel free to sign up to my YouTube channel for lots of helpful video tutorials.

2 reviews for Sacred Space Part 5
You must be logged in to post a review.
Partners
My Recommended Suppliers


Berry Brown –
mastering the ordering process. loving this cal
Deborah Rivera –
love this pattern