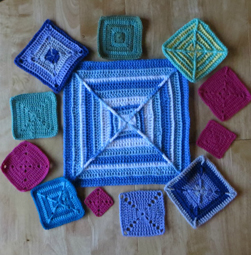
My Design Process
Ok, so quite a few folks have asked about the design process behind Mandala Madness, so I thought I would share with you “My Design Process”.
Now, every designer is different, and produces unique pieces of work.
There are hundreds of designers, all over the world, but there is always room for more…
so if this inspires you to try designing and pattern writing, then go for it…
someone somewhere will find great joy in sharing your creation.
Firstly, I want to share some things I have learned about me and designing.
I cannot design in one colour!
A design cannot be forced.
My designs have to have meaning.
I can’t do all the same stitch!! Borrrrrrrrring!!
I have to feel connected to the design.
All of my designs start with an idea, often the inspiration will come from something natural, or a memory of a place, person, time. I then explore that concept, to get a fixed idea of how I want the end result to “feel” to me.
For example, Radiance, my first big design came about at the time of the Solar Eclipse early last year [2015]. I kept visualising a star exploding in beautiful rays of light.
I explored all of the “star” type of stitches.
This was my prototype, which I made into a wall hanging.

I do not draw anything, I just have the image in my mind, and the feeling I want to create.
Let’s get technical for a moment…
Yes, maths does come into design, there are rules to creating a flat circle or square, but they are very simple rules, and once you understand that with a circle you need to increase each round by the number of stitches you start with, it’s actually quite simple!
Start with 12 stitches and each round will multiply by 12, so 12, 24, 36, 48…. you get the picture.
But when you want to change the shape as the design grows you have to learn how to bend and break the rules…. something I have always had a talent for…. according to my parents, teachers etc.!! hehehe 🙂
But so much of design is trial and error, yes there are often lots of frogs but that is all part of the process.
Often I will work four or five rounds or rows at the same time, to make sure everything fits, and sits correctly, then I will complete the whole thing.
Why frog or rip out yards and yards of yarn when you don’t need to?
This will explain how I have often said “it will get the wobbles”, “but don’t worry”, in the Mandala Madness project. It is also why I have said don’t block it! Because if you block and stretch your work before it is complete then you are often altering the shape unnecessarily, and may even cause problems for yourself later on in the project.
Colour
Colour is extremely important to me, it helps to express a mood or feeling, it absolutely aids my connection to the design I am working on. I have a few started…and slung in the corner projects, because I was just not getting the right vibe from the colours.
I have already written two posts all about colour, A World of Colour and Colour Me Happy, but if you are feeling “stuck” with a project, it may well be to do with the colours.
So colour is often my starting point, either colours that represent the idea or inspiration or colours to create a mood or feeling.
With Mandala Madness, the three colour ways I used all reflect aspects of the inspiration and meaning behind the design. Which you can read all about in the Introducing Mandala Madness post.
Don’t force it…Let it flow
I am not a technical person, I am a creative person, so though I follow those rules I mentioned earlier…to a certain extent.
My designs have to flow from my heart and my hook, each round or section, has to FEEL right to me.
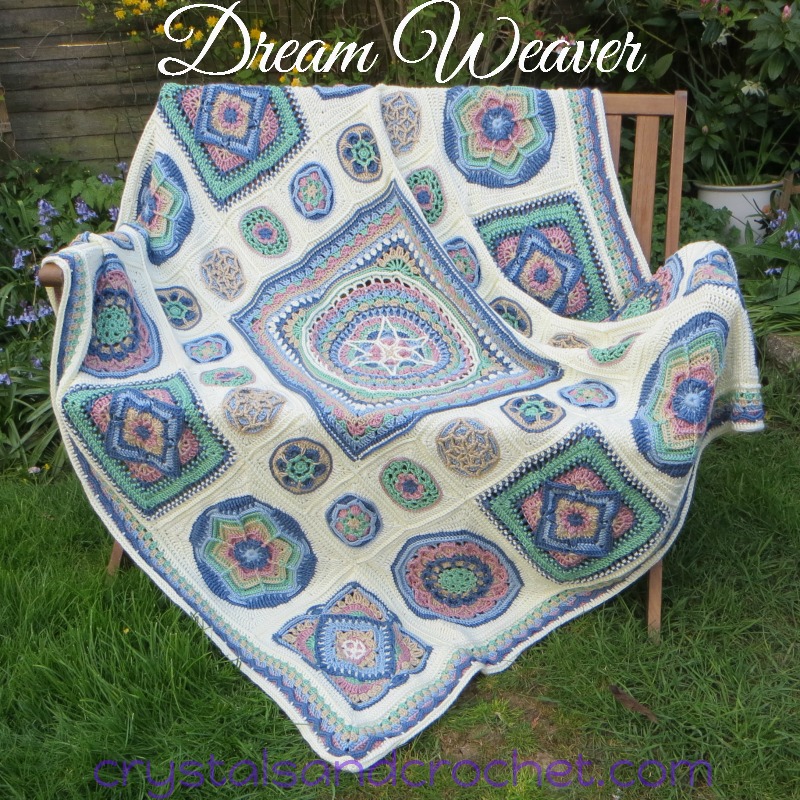
Another example… Dream Weaver.
The idea was to design a 12 inch square that was a dream catcher, I must have started about 4 different designs, and it just wasn’t happening. I started to think about dreams and what they mean, how they affect our lives, the words we associate with dreams, the feeling of day dreaming and making dreams for the future. Words like, Hope, Vision, Muse etc.
All of a sudden I had three 12 inch squares and a very clear vision of the rest of the design.
Meaning
Many of you have noticed the little story or meanings I add to my designs. My feeling is that this is another way that we connect through a common interest or love of what we do. It doesn’t matter if you have never met a person, or if you live on opposite sides of the planet, if there is a connection then the magic starts to grow.
Heart of Friendship is all about the love shared with others, Bloomin Blanket is all about childhood memories, and Mandala Madness is all about coming together to join in a circle of love, joy and creativity.
Different Stitches
I believe that the more we explore possibilities the more we grow.
There are literally thousands of different stitch combinations, but they all use a few simple stitches put together in different ways. Never be afraid to try something new.
“Fear is the path to the dark side” Kill you with boredom it will!
The Designing of Complete Madness
Or the story of how Mandala Madness came to be.
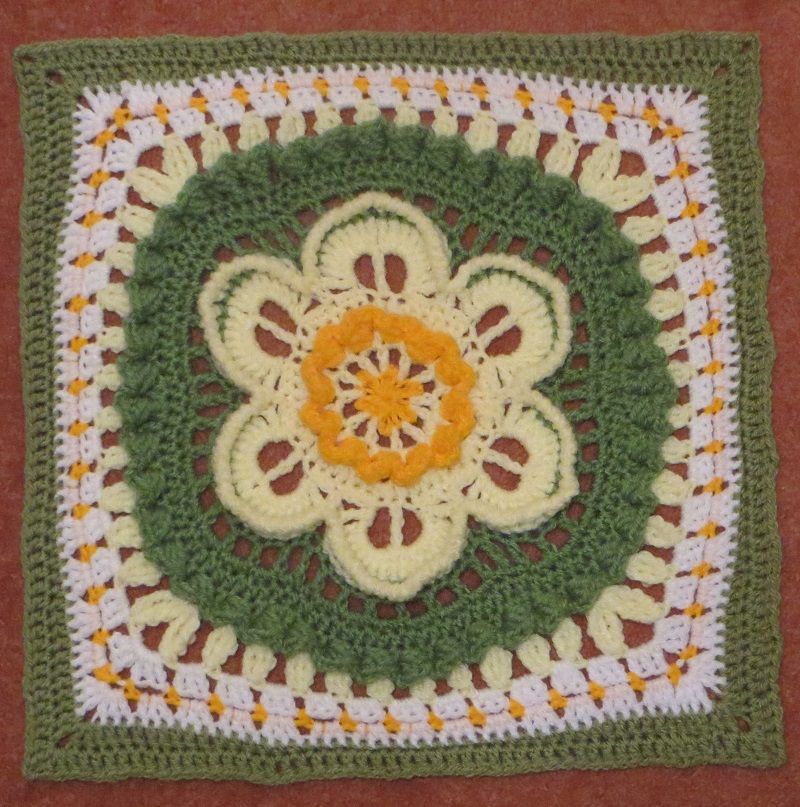
I was thinking about designing a series of flower squares, and as it was very early spring and daffodils were everywhere, I came up with this, but knew it wasn’t meant to be just this!
Then Kimberley asked me to design something for a CAL (crochet a-long) for the Official CCC group on Facebook.
I knew it had to be something very special, it had to be unique and different, so my first thoughts were it needs to be round, because everything out there was square or rectangular.
Did I tell you I like to be different!!
Then I thought about the feeling and the purpose that I needed to create.
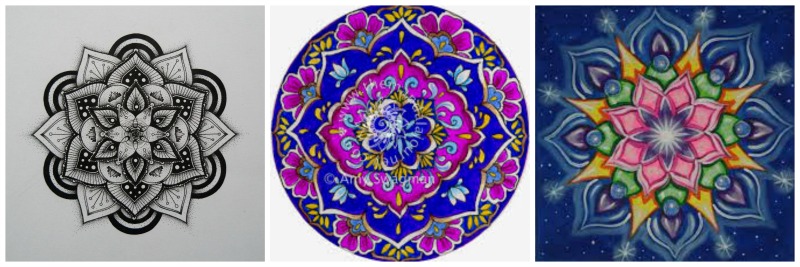
Over the next few days, everywhere I looked I was seeing mandalas, so I went on a hunt for different photos of mandalas, I have always loved the meaning behind a mandala, and so it felt like the perfect thing.
Here are some of the photos I used for inspiration.
BUT, this was not going to be any normal round blanket, it had to be special to fulfil the honour I was being entrusted with.
Then that daffodil square kept falling out of the bag it was in, so I took the hint and started there with a flower in the middle.
The constant changing shapes caused a few headaches, and lots of frogging!!
I often knew the look or feeling I wanted to create, but not which stitches to use, so I would look through my books until an idea came.
I know some of you will love this bit…. I wanted to create a challenge for all of you!
Think I managed that? 🙂
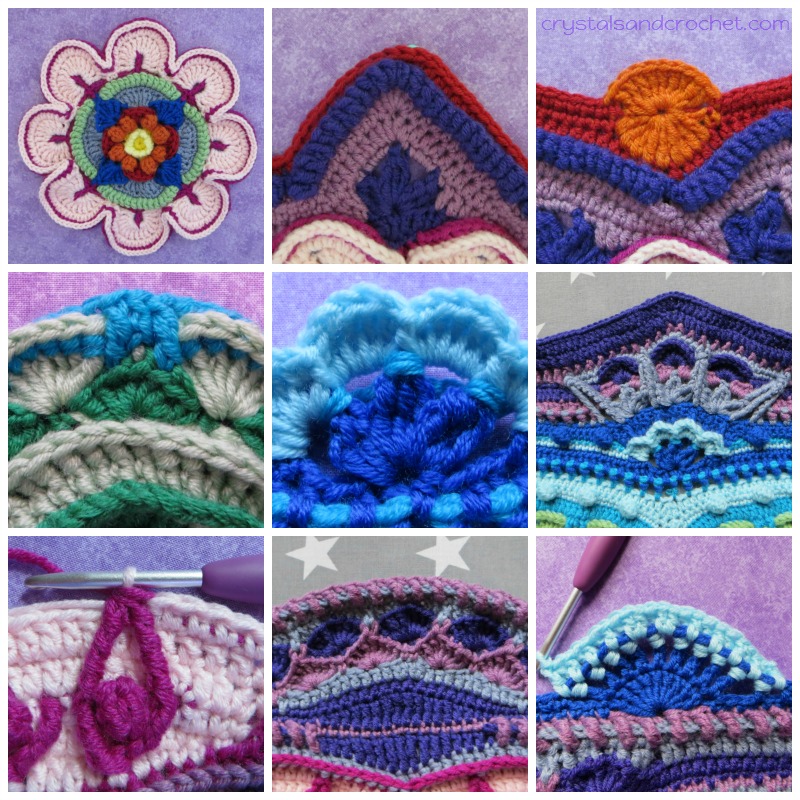
As I was working I would put my work down, step back and just stare at it in amazement, the thought that constantly went through my mind was… “this is madness” which is where the name came from. I am extremely proud of Mandala Madness, and I am so very proud of each and every one of you that has joined me on this journey.
Finally, to sum up how I design, or how I create a design, is to allow it to flow out, from my heart and keep my head out of the way!!
If you want to design something, then just pick up some yarn and a hook and see what happens.
The slightly trickier bit, for me, is the writing of the pattern.
I am dyslexic, particularly with numbers, so words and numbers get twisted around, but thank goodness for some amazing testers!!
When I write my patterns, I actually say it out loud, that way I know it makes sense.
Also, because I get all muddled up with loads of numbers and letters in a great long string, I break mine up, and try to keep the repeats as simple as possible. This is why you will see some of the instructions in my patterns broken into list format.
To me, a good pattern, must be easy to follow, it must tell you where to start, where to finish, and give clear instructions for special stitches. The easier a pattern is to read, the easier it is to follow, and so less mistakes are made.
To me it is essential to have patterns tested, but even then some simple mistakes will slip through the net, I always appreciate anyone letting me know if they find a mistake in any of my patterns, so that I can correct them, and constantly raise the standard of my pattern writing.
My aim is to make the instructions clear and easy to follow, which is why I prefer to do photo tutorials, as a picture paints a thousand words.
However, photo tutorials take a lot of work and many hours, with taking the photo, then the editing and putting everything together, it is not something to be done in a rush.
An average 12 inch afghan square will take around 2 hours, just to edit the photos!!
Mandala Madness took me over 5 months to complete, and that was working on it every day!
I have no idea how many hours it was in total, but every one of them was a joy, and even once the design was complete and the prototype and 3 finished mandalas were made the time spent doesn’t stop there. There is still a massive amount of work going on behind the scenes, with writing the weekly posts, and taking the time to help and encourage people.
There is also an amazing team of people working on the translations and videos, the fantastic testers and the admins of the Facebook group and the Ravelry group.
I would not have missed this opportunity for the world, and I am totally thrilled with the wonderful response to all of my designs, and it is something I intend to continue with for a long time to come.
