Sign Up
Already have an account? Sign in here
Sign In
Dont have an account? Sign up here
Blocking
Some people do, some don’t!
Personally I always block my work.
Firstly it makes it much easier to join pieces together when they are all neat and the edges are straight.
Secondly it gives your work a far more professional and finished look.
When you have spent, often, many hours working on an amazing piece of crochet you want it to look as good as it can.
I liken it to having a pair of linen trousers…. you wash them so they are clean, but do you just pull them on and go out?
Or do you iron them, and even starch them, so that they are crisp and fresh and the fabric looks awesome?
It’s the same with your crochet!
You only need to block your work once, it will then hold the shape as long as you take care when washing and drying.
So here’s how I do it…..
Firstly you need something to block your work on, and a ruler or tape measure to make sure it is blocked evenly. You also need pins that will not rust, you don’t want to spoil all your hard work with nasty little rust marks.
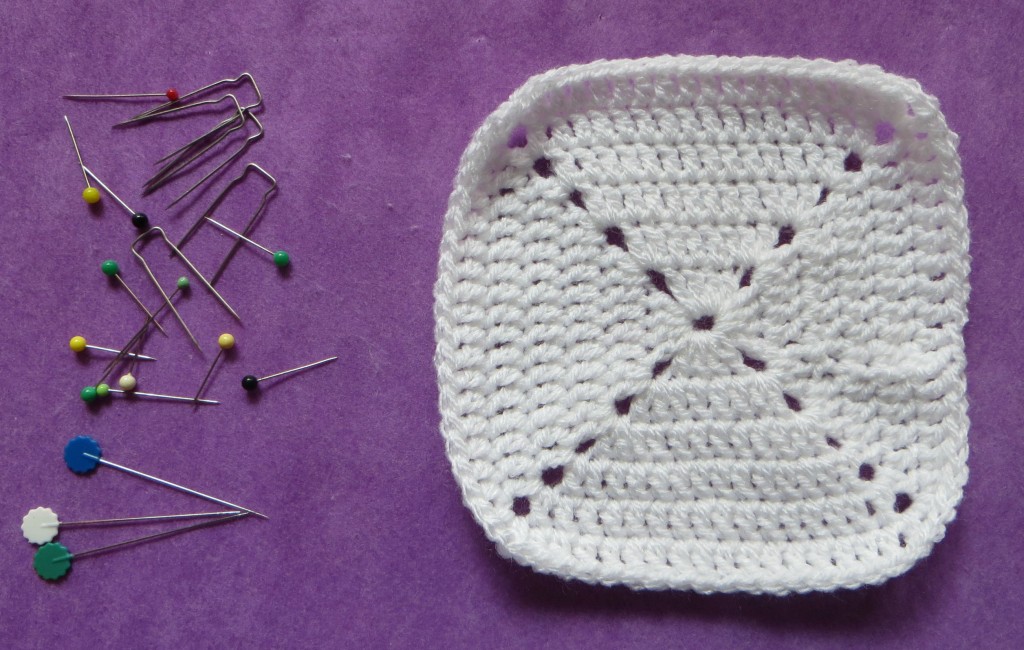
If you are blocking a piece of work with “normal” stitches, you will not want to over stretch it, just even it out and square up the kinks.
If however you are blocking a piece with a lot of open work and chain stitches, then you will need to stretch it out to “open up” the stitches.
So lets start with a basic square.
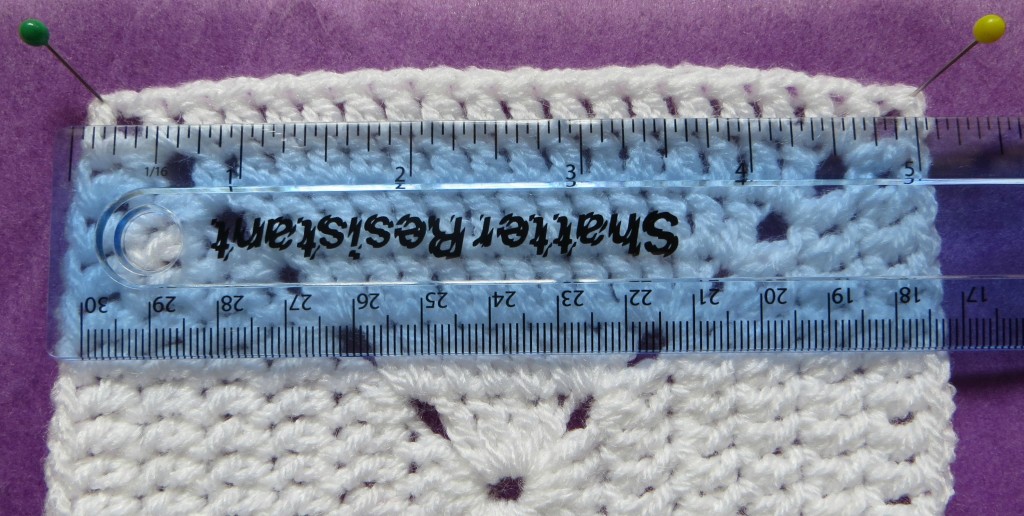
Starting in the corners, pin and measure your block so that all sides are the same size.
Then working one side at a time, place pins at regular intervals to hold the block securely.
I use a ruler to make sure the edges stay straight.
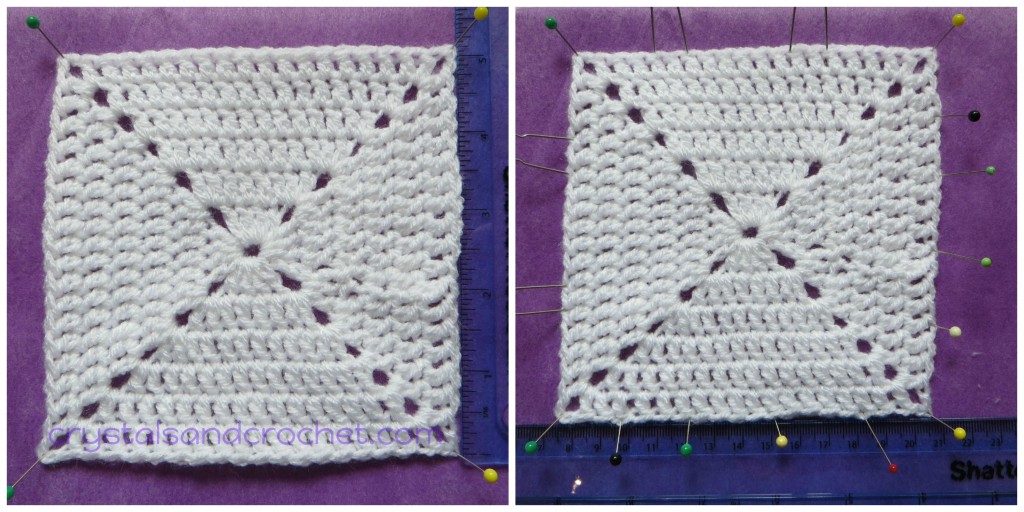
Now you can either spray with water or use steam, or my prefered method… a hairdryer, yes the heat will block your work really quickly, and there is much less danger of “killing” acrylic yarns. Cotton yarns do need water or steam to block.
If you are going to use a normal steam iron make sure you DO NOT touch your work, as it will flatten it and can even “kill” some yarns, leaving them totally lifeless.
If you are blocking a finished piece, then you can wash it first and then block it. Sometimes having the piece damp helps to ease it into shape.
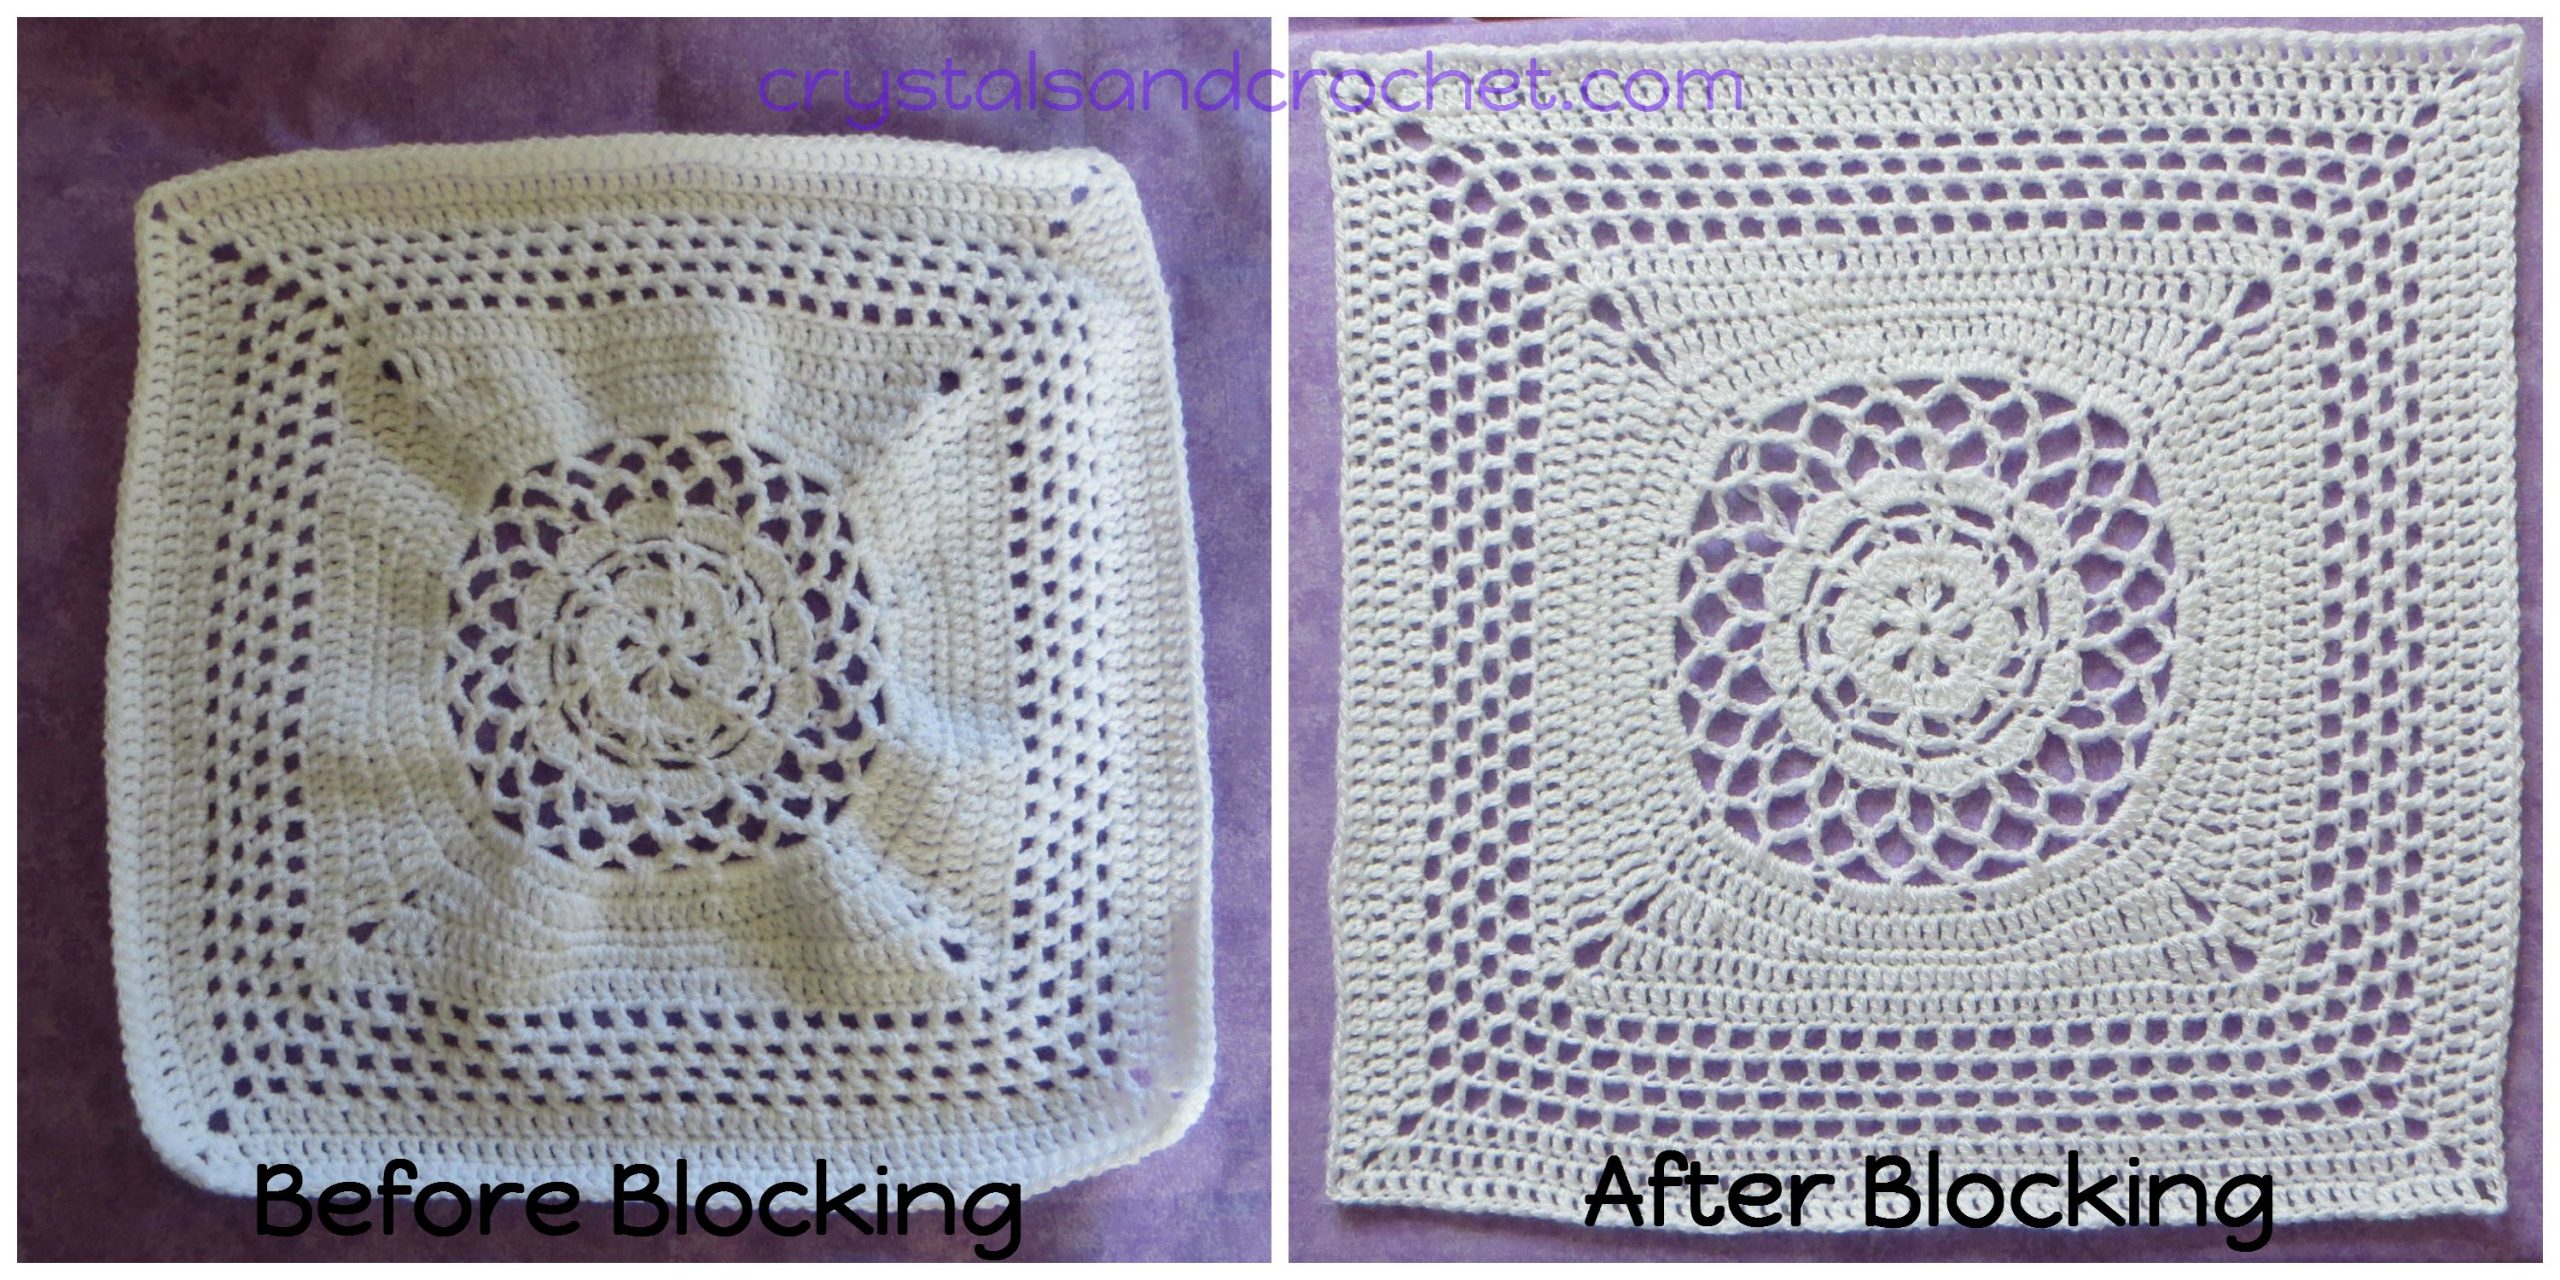
With more open work, like my “Bloomin Blanket” you have to get a bit more physical.
Here you can see the amount of stretch applied to bring the corners out to the required 16 inches. You may even need to weigh the sides of your blocking mats down to stop it curling up and maintain the stretch needed!
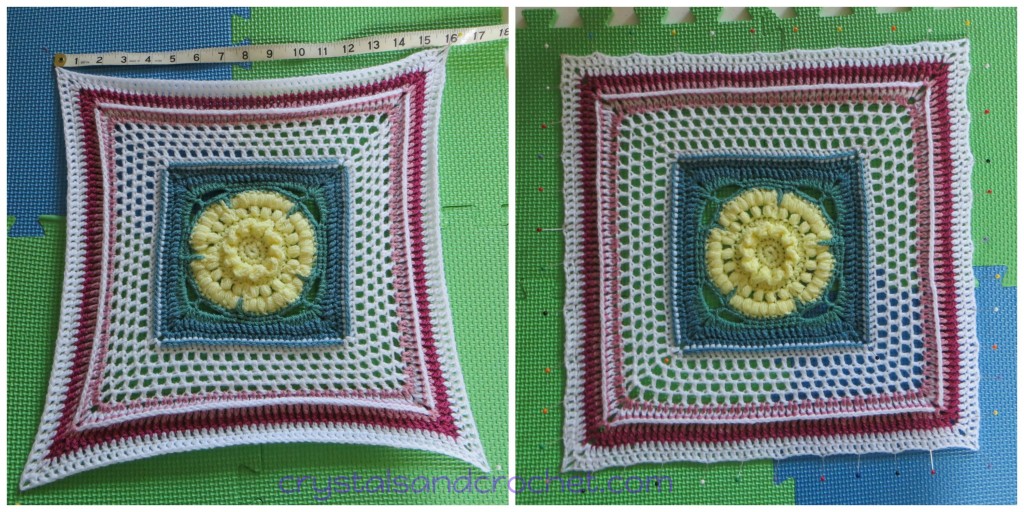
“I Love Butter-cup” Square from “Bloomin Blanket”
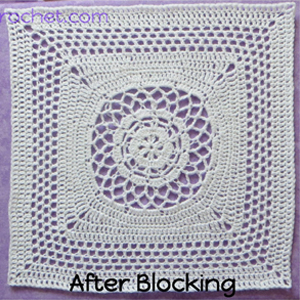
But just look at the difference before and after blocking.
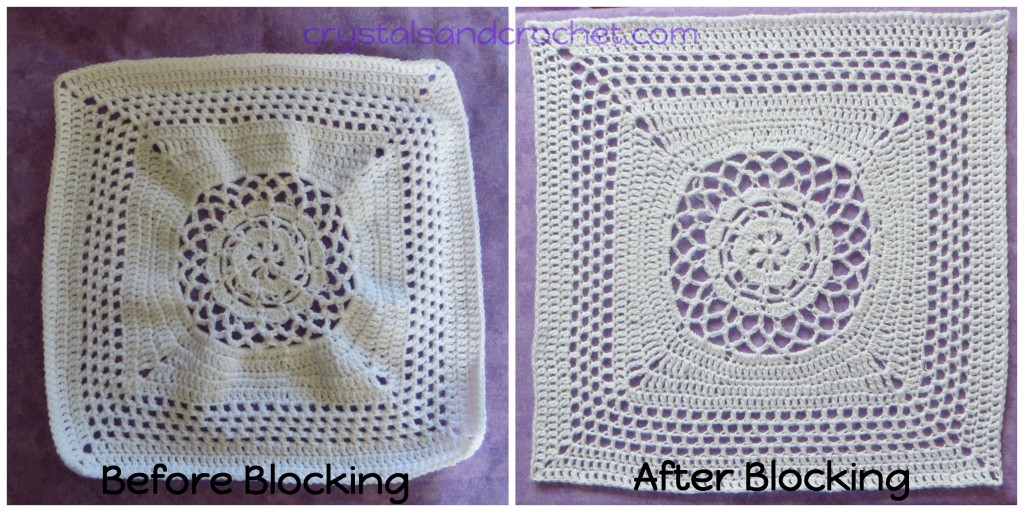
“Bloomin Plain Square”
Always be proud of your work and make it look as awesome as you can.
Here is a video tutorial which covers blocking acrylic yarns using a hairdryer, and also blocking wires.

♥ If you need help and advice, the quickest way to find support is to join Helen’s Hookaholics Facebook group. There you will find a very supportive group of likeminded people. It’s also a great place to share your crystalsandcrochet makes, and see what others are making, and see what I am up to.
♥ If you are not a fan of Facebook you can always email me with any questions you may have by using the contact form here.


